Environment
Situation
This article provides information on how to export all of the jobs in a PowerConvert / Portability Suite network from one PowerConvert / Portability Suite server and import it to a new PowerConvert / Portability Suite server.
NOTE: For instructions on how to export and import an individual PowerConvert / Portability Suite job from an old server to a new server, please see TID 7920886.
Resolution
To export all of the jobs from a given network from one PowerConvert / Portability Suite server and import them to another PowerConvert / Portability Suite server, two important tasks must be accomplished:
- The destination PowerConvert / Portability Suite server must acquire the job information from the original PowerConvert / Portability Suite server.
- All Synchronization jobs that need to be restarted on the new, destination PowerConvert / Portability Suite server must have their controller references updated for all source and target machines (This only applies to VMware ESX Server v2.x, VMware GSX Server, and Microsoft Virtual Server. This does not apply to VMware Infrastructure 3 Servers)
NOTE: Users must repeat Steps 1 and 2 for each PowerConvert / Portability Suite network that they wish to export on the PowerConvert / Portability Suite Server:
Step 1 Instructions - Acquiring the Job Information from the original PowerConvert / Portability Suite Server:
- Download the ImportExport.zip file by clicking here or by clicking on the link at the bottom of this article
- Extract the contents of the ImportExport.zip to a temporary directory on the PowerConvert / Portability Suite Server
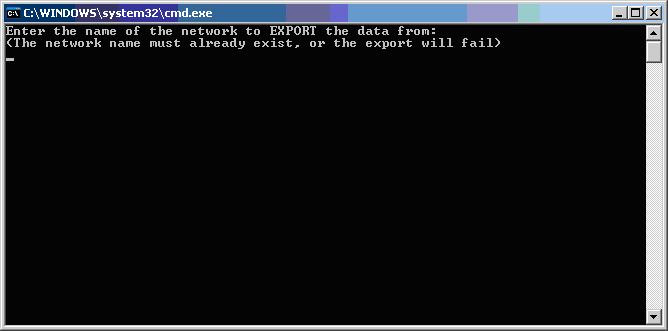
- On the original PowerConvert / Portability Suite server run the “ExportData.bat” file. This will ask you the name of the network that you wish to export to files so that it can be imported later.
- Once the export is complete, copy the “exportedData” folder and the ImportData.bat file to a new temporary directory on the destination server (make sure both are in the same folder).
- Run the “ImportData.bat” file once the files have been copied to the destination server. You should see a command prompt appear that asks you for the name of a new network to import the job to.

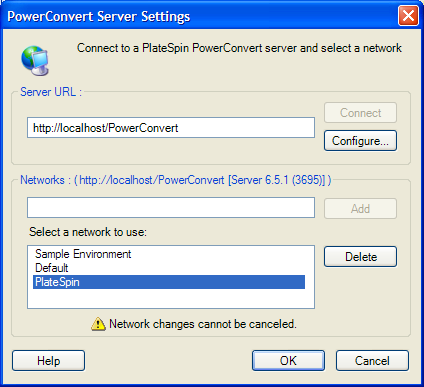
- Enter the name of a new network (it can be any name that does not already appear in the list of networks in the “PowerConvert Server Settings” menu).
- Press enter and the job will be imported to the destination PowerConvert / Portability Suite server.
Step 2 Instructions - Updating controller references for the source and target machines:
- On the destination server that you have imported the job to, execute PowerConvertBrowser.exe / PortabilitySuite.Browser.exe.
- In the tree view, expand the network name that you imported the job to and view the source and target machines.

- If the target machine is NOT a VMware Infrastructure 3 Server, right click on the target machine and select:
Tasks -> Install Controller.. (See NOTE below) - Right click on the source machine and select:
Tasks -> Install Controller.. (See NOTE below)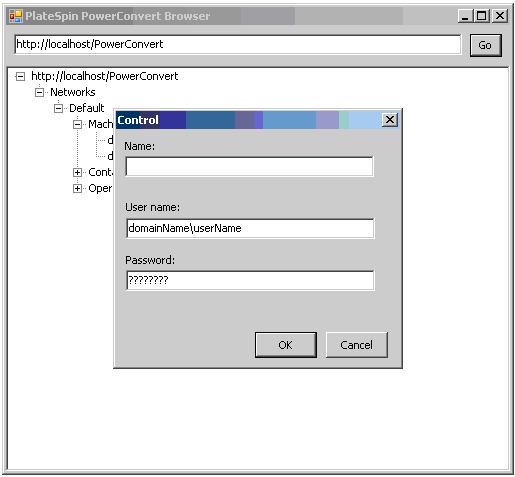
NOTE: Leave the “Name” field blank and enter domain credentials for the “User name:” and “Password:” fields and click Ok. - You can monitor the progress of the controller installation jobs in the PowerConvert / Portability Suite Client.
- In the PowerConvert / Portability Suite Client, select the “Synchronization Schedules” icon and setup/run:
-Incremental transfers
-Full Transfers
-Test Restore and/or
-Full Restore jobs