Environment
ESX target server with a VM that will not boot.
Situation
This article outlines information regarding how to add a disk as a slave to another Virtual Machine so that it's content can be edited.
Sometimes to be able to make changes to a newly created VM that will not boot, you need to gain access to the boot drive. As this is usually running NTFS, you need to boot into an OS to access the disk files. One option for this is to use another OS and mount the drive to edit as a slave disk. To do this you will need to know what the name of the disk is as well as the location of it on your ESX server.
Resolution
Make sure that both the server with the hard drive that needs to be edited, along with the new VM server are both turned off before doing this process. It is best to have the new VM server be the same OS and SP as the original server that needs to be edited. For example, if you need to edit a Windows 2000 server at SP4, then it is best to have the new VM server also loaded with Windows 2000 server at SP4.
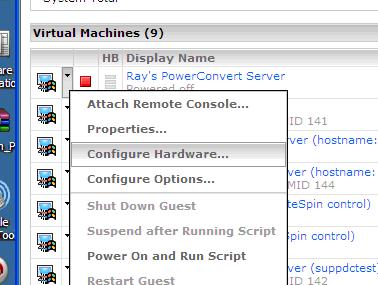
1. Load the ESX menu screen and highlight configure hardware for the failed VM.
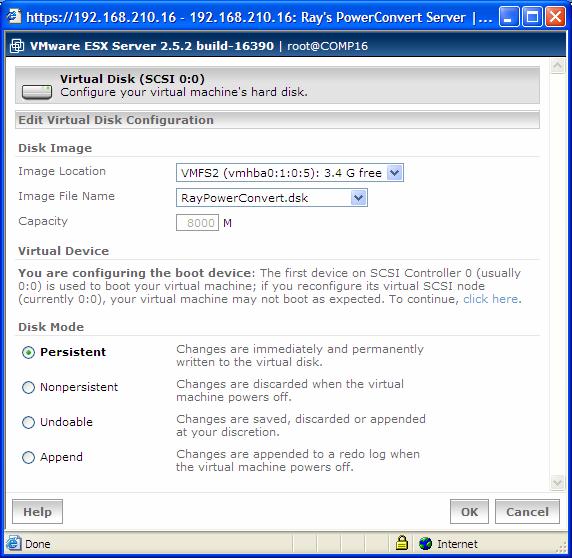
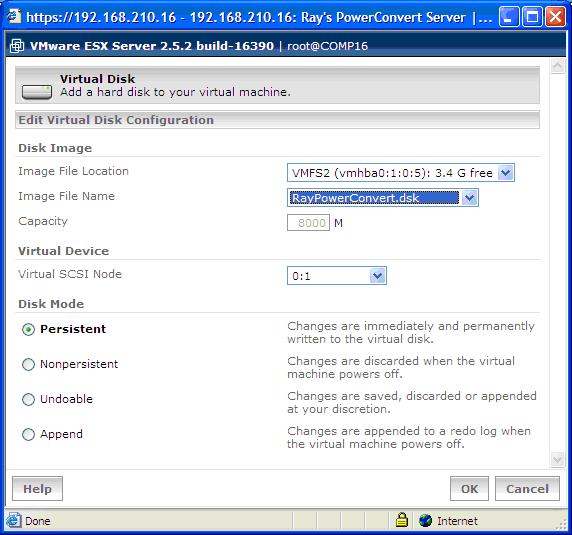
2. Select the hard drive from the server that needs to be edited, and choose Edit. This will bring up a dialog box that lists the Disk Image Location and the name of the Disk Image. This is mostly a .VMDK file, but it can have other extensions too. Record the name and location of this Disk Image.
Make sure the slave drive VM is shut down or else you cannot add this drive to the new VM server.
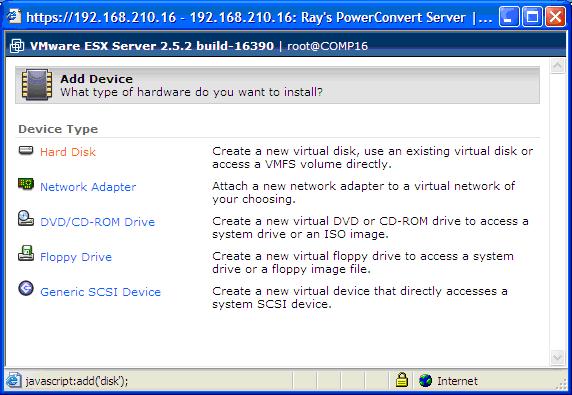
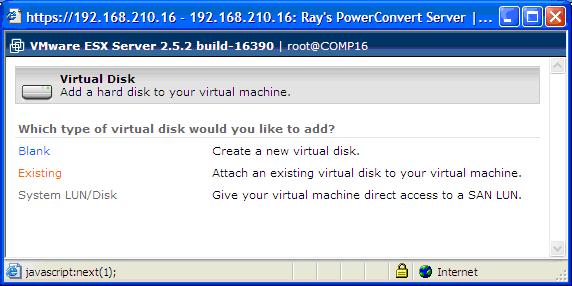
3. On the VM server that is going to slave the disk, click on the add a new device link and select the Hard Disk, then select Existing.
4. Select the Image File Location and Name of the disk to be slaved. This is the name recorded in step #2. It should be assigned a new virtual scsi node, and make sure that the Disk Mode is set to Persistent.
Click on OK and then start the new VM server. The slave disk(s) should appear and new drive letters in Windows.
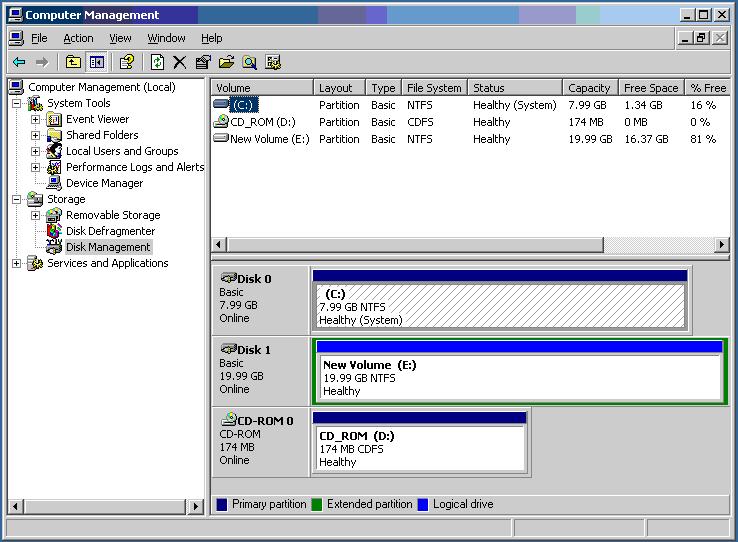
Now that the disk is mounted in the new VM server, simply go to the new drive letters and make the required changes. Once done, shut the new VM server down and remove the disk from the VM configuration. Then start back up the original server and any changes to the disk will have been made.