Environment
Platespin Transformation Manager 1.x
Situation
A new disk must be partitioned to be used for the /vastore on Platespin Transformation Manager.
Resolution
Connect to the appliance via PuTTY and launch Yast via command “yast”:

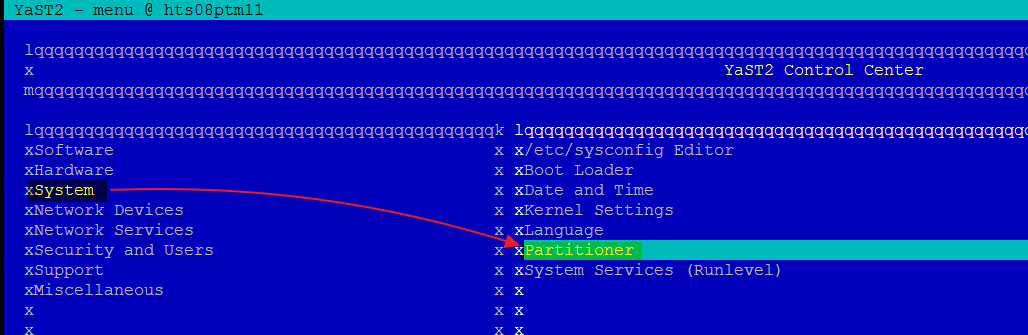
Use the [Tab], arrows and [Enter] keys to go to “System” -> “Partitioner”:
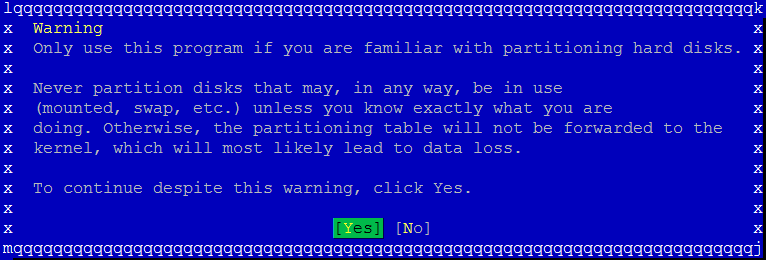
Click “Yes”:
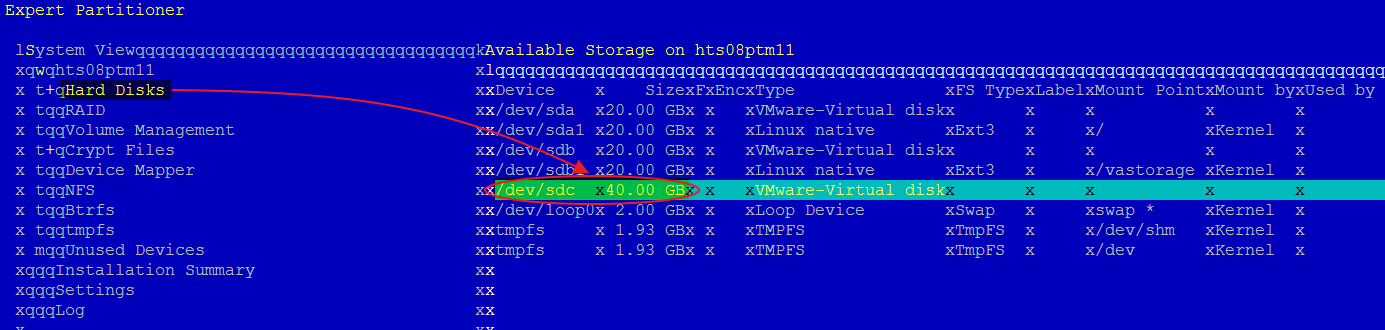
Go to “Hard Disks”, then select the new disk. It should be ‘/dev/sdc’ and you may locate it via its size (here, 20 GB):
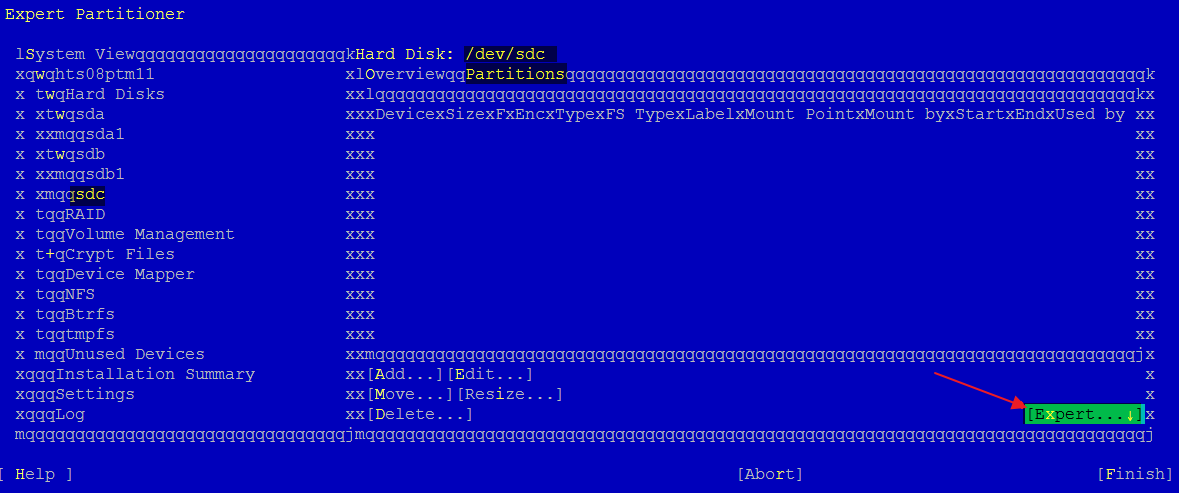
Select “Expert…”:
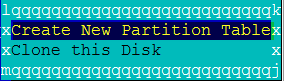
Then, “Create New Partition Table”:
Use the arrow keys and the [space] bar to select “GPT”:
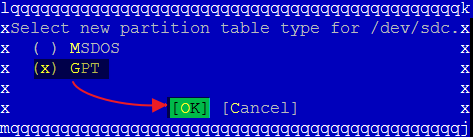
Select “Yes”:

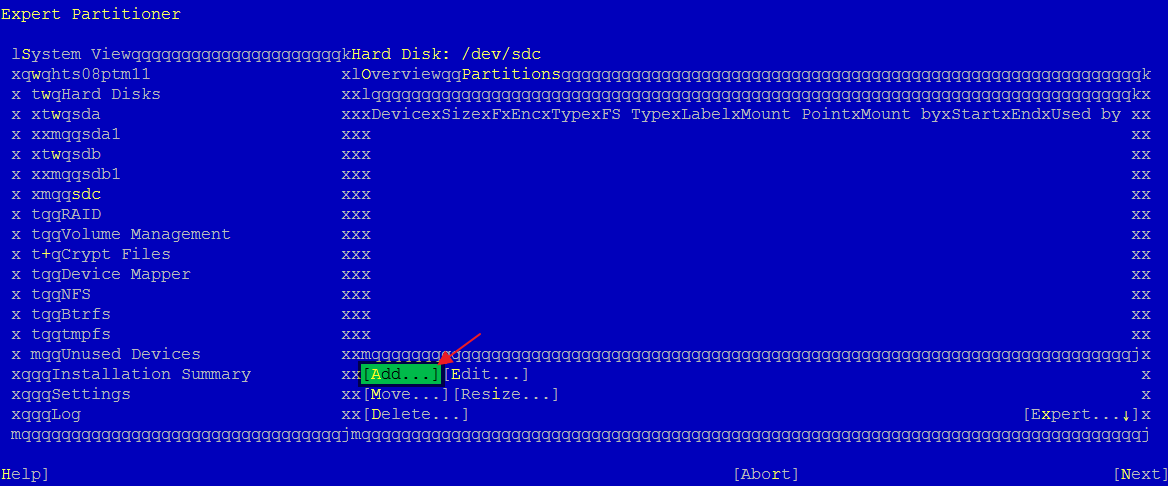
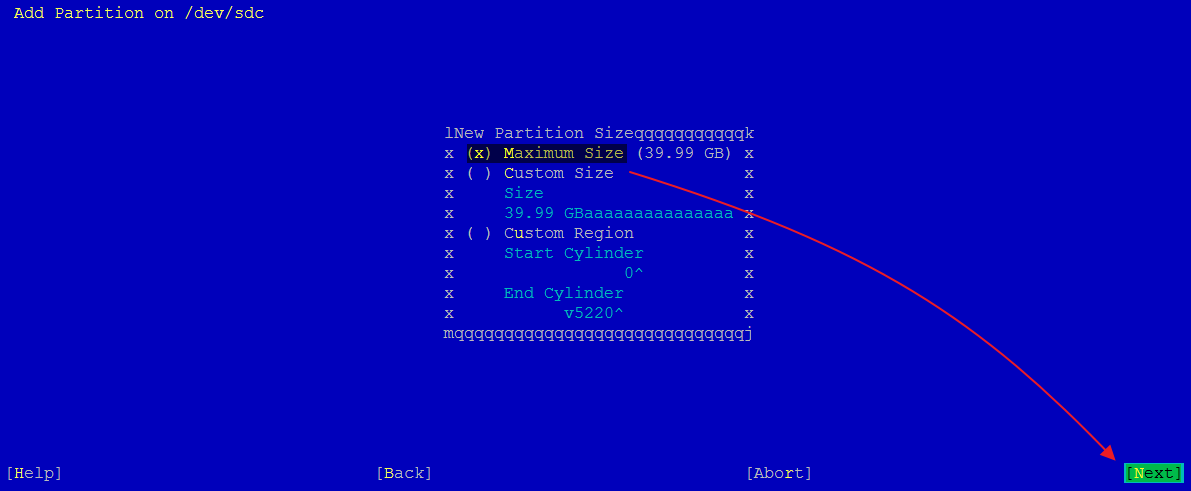
Now, select “Add..” and create a new partition on ‘/dev/sdc’, selecting “Maximum Size”:
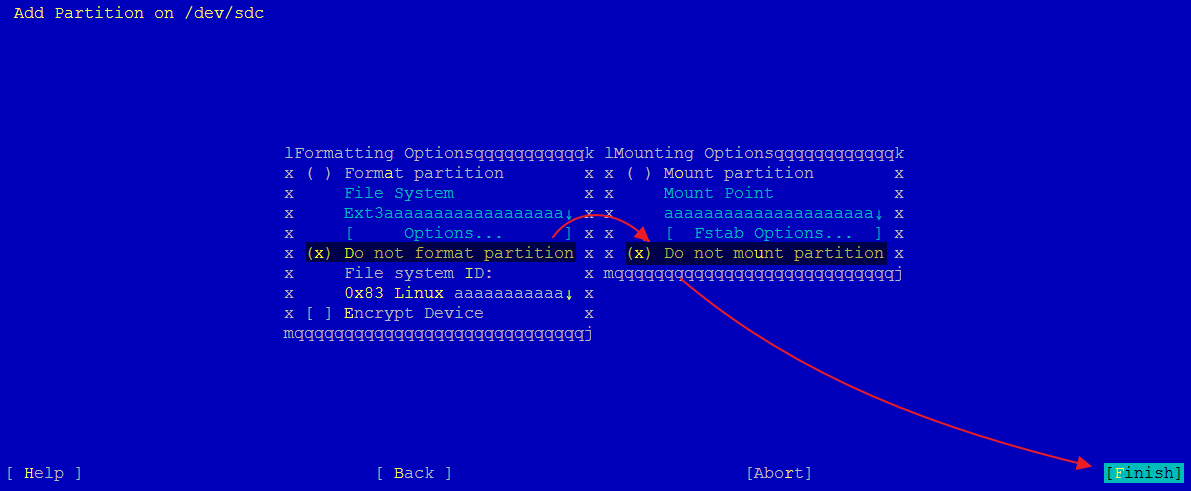
Select “Do not format partition” and “Do not mount partition”, then click “Finish”:
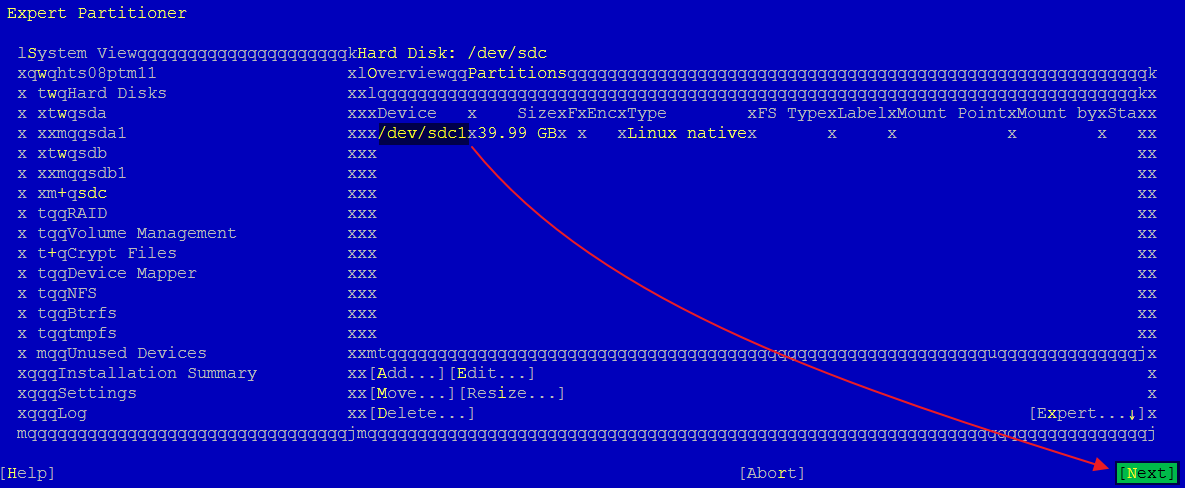
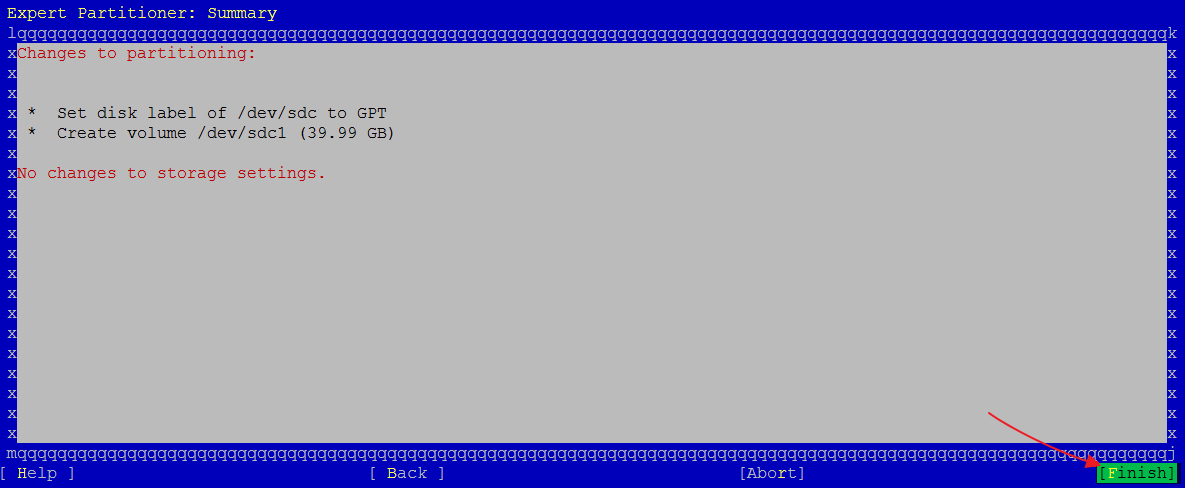
The new partition should now be listed. Click “Next”, then “Finish”:
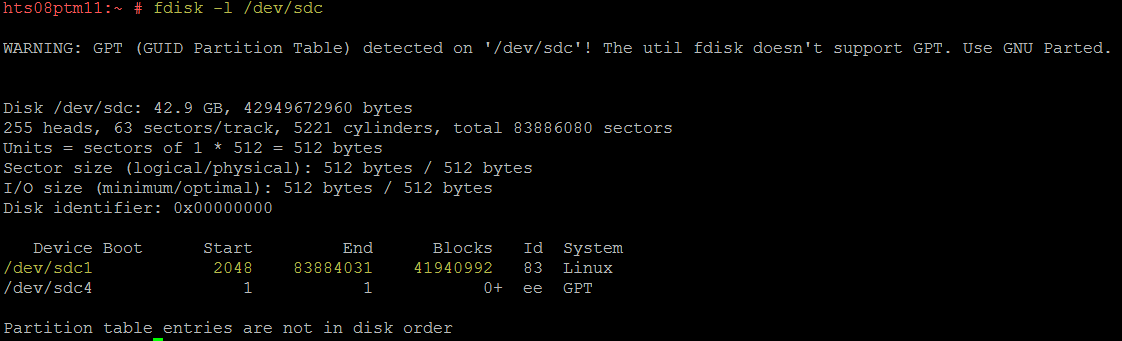
Exit Yast to get back to the command prompt. If you run the command “fdisk -l”, you should now see the partition you created on the new disk added to the appliance (here, ‘sdc1’):
Use the [Tab], arrows and [Enter] keys to go to “System” -> “Partitioner”:
Click “Yes”:
Go to “Hard Disks”, then select the new disk. It should be ‘/dev/sdc’ and you may locate it via its size (here, 20 GB):
Select “Expert…”:
Then, “Create New Partition Table”:
Use the arrow keys and the [space] bar to select “GPT”:
Select “Yes”:
Now, select “Add..” and create a new partition on ‘/dev/sdc’, selecting “Maximum Size”:
Select “Do not format partition” and “Do not mount partition”, then click “Finish”:
The new partition should now be listed. Click “Next”, then “Finish”:
Exit Yast to get back to the command prompt. If you run the command “fdisk -l”, you should now see the partition you created on the new disk added to the appliance (here, ‘sdc1’):