Environment
PST Importer
Situation
Resolution
Obviously, you'll first want to install it. The installation guide is found within the PST Importer manual for Retain 3 or, for Retain 4 customers, it is in the Retain 4 online manual under "Tools".
1. Create a Worker object within Retain. The settings do not matter, so just create the Worker object, give it a name, save it, and download the bootstrap / configuration file. The purpose of this is to tell the PST Importer where the Retain Server is located.
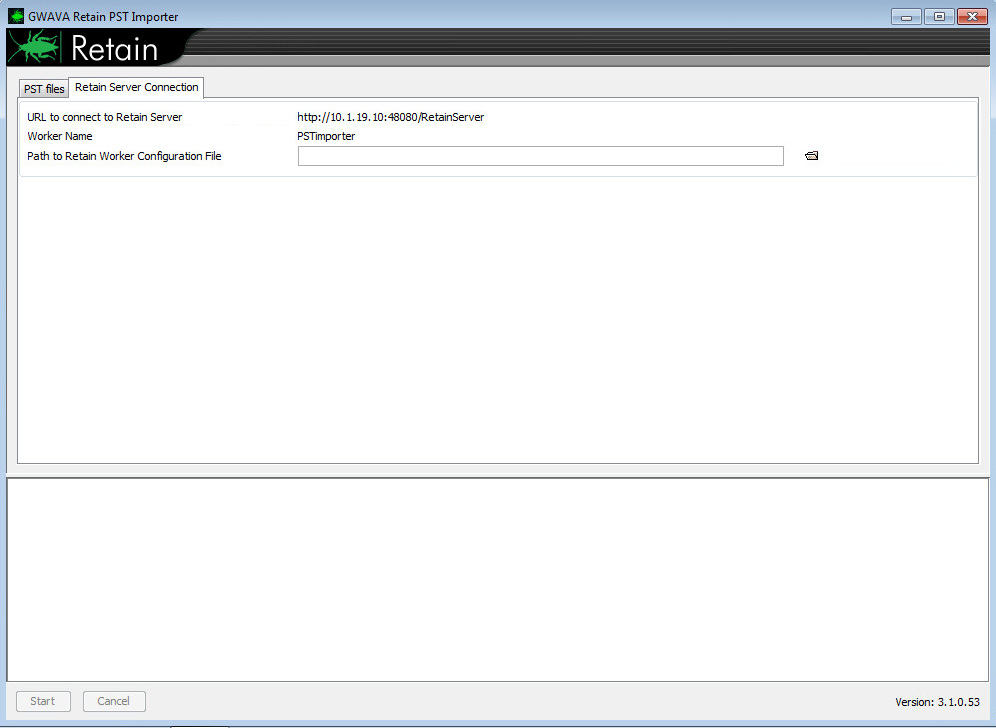
2. Upload the Worker configuration file (a.k.a., "bootstrap") into the PST Importer.
NOTE: In Retain 3.5.1 and earlier, it throws an error when loading the Worker configuration file. That can be ignored (see http://support.gwava.com/kb/?View=entry&EntryID=2539)
3. Click on the PST files tab, then click on the add tab.
.png)
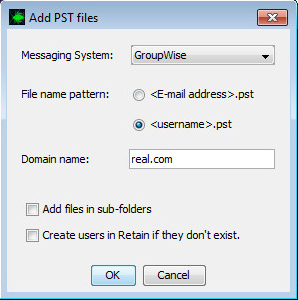
4. Click on the add tab to pull up this menu:
.png)
âMessaging System
Make sure you select the correct messaging system of the Retain archive.
File name pattern
It provides two options:
- [E-mail address].pst
- [username].pst
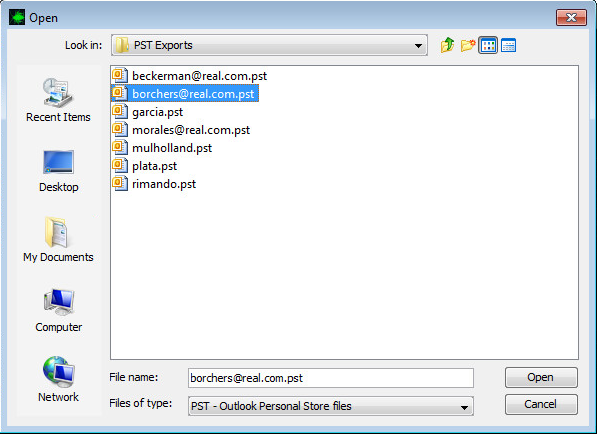
Screenshot of pst files named with both naming conventions. Either is acceptable.
The pst files need to be named a specific way, with the filename representing either the user's e-mail address or or the user's username (in GroupWise, it is referred to as the "userid"). This is used to match the pst file with the a user in the Retain address book, which should already exist. If that user does not already exist within Retain, then see the instructions for the option, "Create users in Retain if they don't exist" (below).
Domain name
This only appears when selecting the <username>.pst option. In such cases, you will need to list the domain. Do not include the "@" symbol before the domain name.
Add files in sub-folders
This option will search for PST files recursively within a selected directory.
Create users in Retain if they don't exist
If the users do not exist in Retain yet, see this article for more detailed instructions: Using the "Create users in Retain if they don't exist" checkbox.
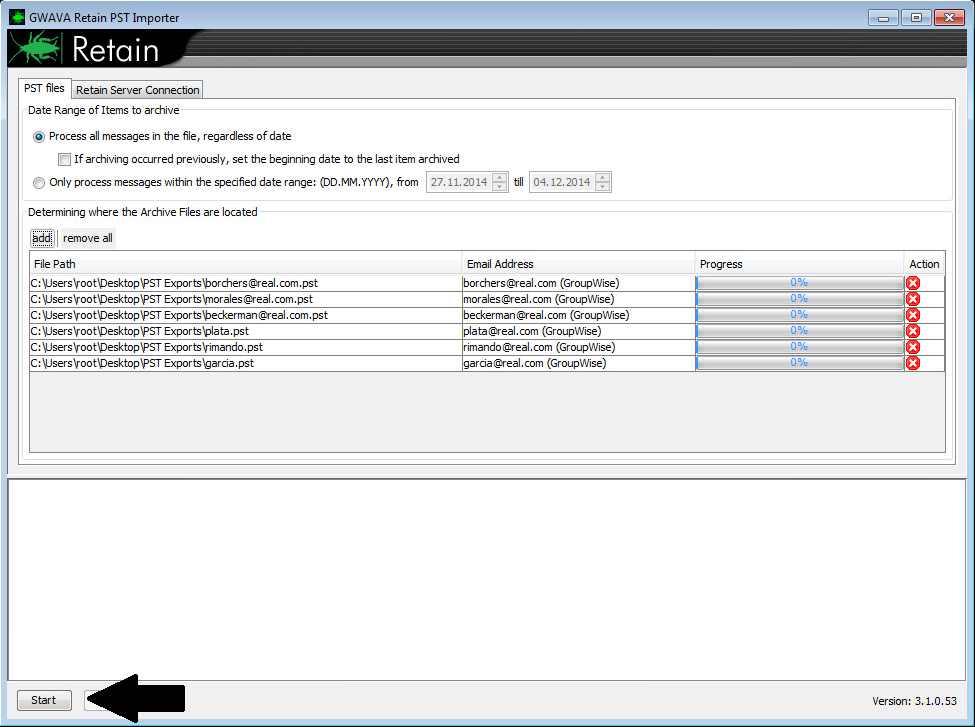
5. You can add as many PST files as desired. After you have added all desired PST files into the queue, click Start button to begin the import.

NOTE: Some pst files may need to be repaired. In such cases, see "Repair Outlook Data Files (.pst and .ost)".


